

How do I sew on a padded applique patch to a boucle fabric?
Sewing a padded applique patch onto a boucle fabric can transform ordinary pieces into personalized, eye - catching items. As a supplier of sew - on padded applique patches, I'm excited to share with you the detailed process of how to sew these patches onto boucle fabric, along with some tips and tricks to ensure a perfect result.
Understanding Your Materials
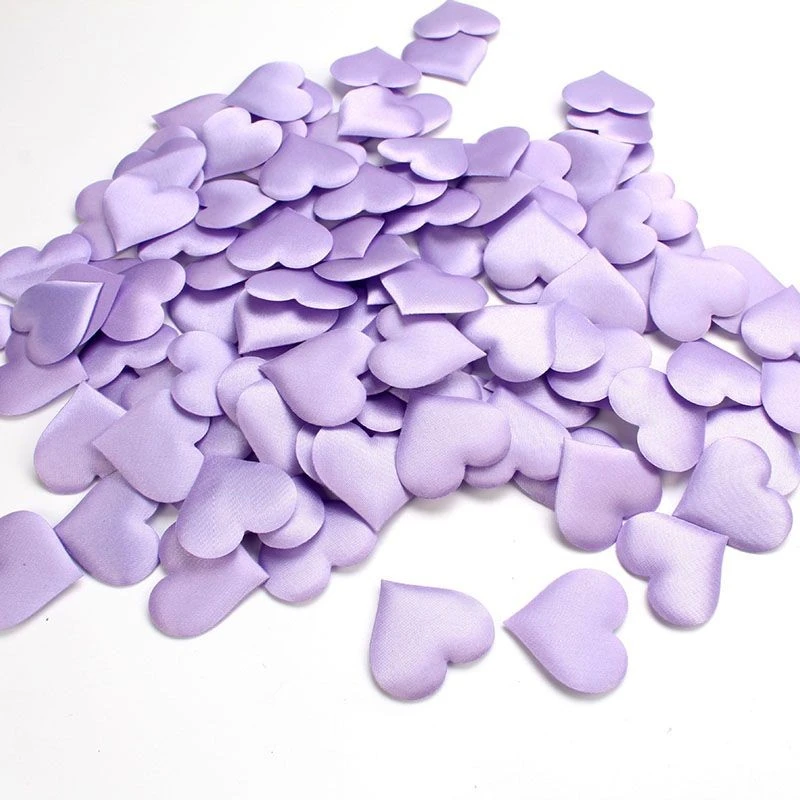
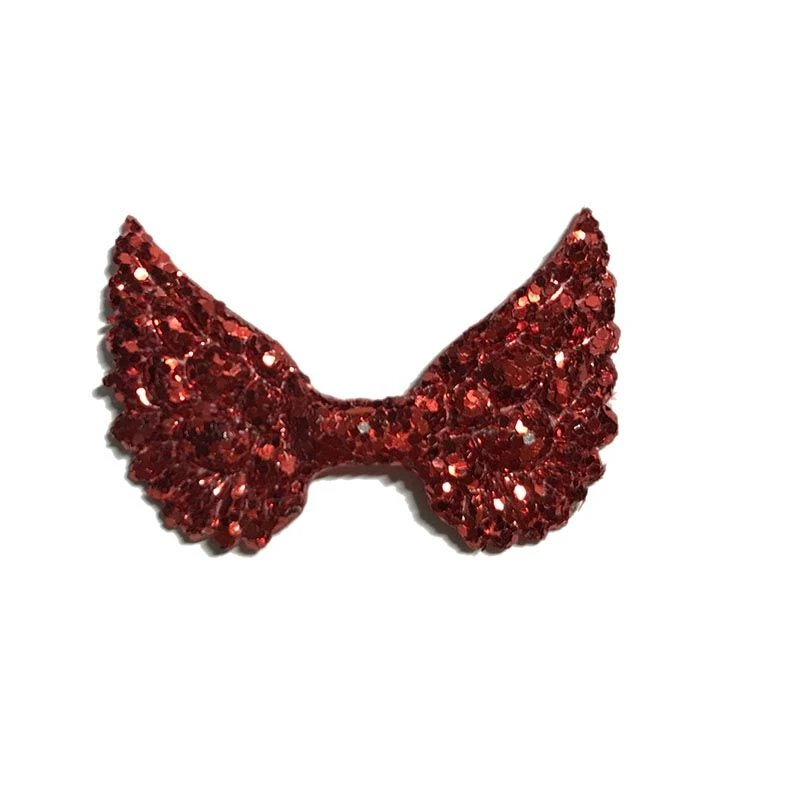
Before you start sewing, it's crucial to understand the nature of both the padded applique patch and the boucle fabric. Our range of Satin Sew On Padded Applique Patch offers a luxurious, smooth surface that catches the light beautifully. The padded construction gives it a three - dimensional effect, making it an outstanding choice for adding a touch of elegance to your boucle projects. Meanwhile, Glitter Sew On Padded Applique Patch is perfect for those who want to make a bold and flashy statement. The glitter adds a fun and glamorous element that can take your creation from ordinary to extraordinary. And for a more durable and contemporary look, PU Leather Sew On Padded Applique Patch provides a sleek and modern aesthetic.
Boucle fabric, on the other hand, is known for its unique texture. It has a fluffy, looped surface that gives it a soft and cozy feel. However, this texture can make it a bit challenging to sew on patches compared to smoother fabrics. The loops in the boucle can interfere with the needle and thread, making the stitching process more difficult.
Preparing Your Materials
- Select the Right Patch: Choose a padded applique patch that complements the color and style of your boucle fabric. Consider the size and shape of the patch in relation to the area where you'll be applying it. If you're working on a small item like a hat or a pocket, a smaller patch might be more appropriate. For larger items such as a jacket or a blanket, you can opt for a bigger patch.
- Prepare the Boucle Fabric: Lay the boucle fabric flat on a clean, smooth surface. Gently brush the surface of the fabric to remove any loose fibers or debris. If necessary, you can use a lint roller to get rid of stubborn bits. Next, decide where you want to place the patch on the fabric. Use a quilter's disappearing ink pen or tailor's chalk to mark the position. Make sure to measure carefully and double - check the placement before proceeding.
- Prepare the Patch: Check the patch for any loose threads or flaws. If there are any, trim them carefully with a pair of sharp scissors. Some patches may have a backing paper or film that needs to be removed. Follow the manufacturer's instructions to get the patch ready for sewing.
Sewing Tools You'll Need
- Needles: Choose a sharp, medium - weight needle. A needle that is too fine may break easily when sewing through the padded patch and the boucle fabric, while a needle that is too thick may leave large holes in the fabric.
- Thread: Select a high - quality thread that matches the color of either the patch or the fabric. We recommend using a polyester or cotton - polyester blend thread as they are strong and resistant to fraying.
- Scissors: A sharp pair of fabric scissors is essential for cutting the thread and trimming any excess fabric.
- Pins: Use straight pins to hold the patch in place on the fabric. Make sure the pins are long enough to go through the patch and the fabric without bending.
Sewing the Patch
- Securing the Patch: Place the patch on the marked position on the boucle fabric. Use pins to secure the edges of the patch, but be careful not to push the pins too hard as they could flatten the loops of the boucle. Start from the center of one edge and work your way out to the corners, pinning every few inches.
- Starting the Stitching: Thread your needle and tie a knot at the end of the thread. Insert the needle from the back of the fabric, coming up through the fabric and the patch at the edge. Make sure to start stitching close to the edge of the patch to keep it in place.
- Running Stitch or Blanket Stitch: You can choose between a running stitch or a blanket stitch to attach the patch. A running stitch is a simple, straight stitch that goes in and out of the fabric and the patch. It's quick and easy to do, but it may not be as secure as a blanket stitch. A blanket stitch, on the other hand, is a decorative stitch that goes around the edge of the patch, locking the edge and providing a more finished look.
- Running Stitch: Insert the needle into the fabric and patch about 1/8 inch from the previous stitch and bring it out about the same distance further along. Keep making small, even stitches around the edge of the patch. Make sure to keep the stitches close together to ensure a strong bond.
- Blanket Stitch: Start by inserting the needle into the fabric and patch at the edge. Bring the needle up through the fabric and the patch about 1/8 inch away from the edge. Then, loop the thread around the tip of the needle and pull it through to form a small loop. Insert the needle through the loop and pull it tight. Repeat this process all the way around the edge of the patch.
- Finishing the Stitching: When you reach the starting point, make a few extra stitches to secure the thread. Cut the thread close to the fabric, leaving a small knot on the back.
Tips for Sewing on Boucle Fabric
- Use a Walking Foot: A walking foot is a special presser foot for sewing machines that helps feed the fabric evenly, especially when working with thick or slippery materials like boucle. If you're using a sewing machine, attach a walking foot to ensure smooth and consistent stitching.
- Slow Down: When sewing through the boucle fabric and the padded patch, slow down the sewing speed. This will give you more control over the needle and thread and reduce the risk of the fabric bunching up or the needle breaking.
- Trim Excess Loops: If you notice any loops of the boucle fabric getting in the way of the stitching, carefully trim them with scissors. Be gentle to avoid cutting the fabric itself.
Troubleshooting
- Thread Breaking: If the thread keeps breaking, check the tension of your sewing machine. Adjust the tension slightly to make it looser. Also, make sure the needle is the right size and not dull.
- Patch Shifting: If the patch starts to shift while you're sewing, stop and re - pin it in place. You can also use a small amount of fabric glue on the back of the patch to hold it temporarily.
- Uneven Stitching: To ensure even stitching, use a ruler or a seam guide. Mark the stitching line on the patch before you start sewing, or use a sewing machine with a built - in guide.
As a supplier of sew - on padded applique patches, we offer a wide variety of styles, colors, and materials to meet your diverse needs. Whether you're a professional seamstress or a DIY enthusiast, our patches can add a unique and personalized touch to your projects. If you're interested in purchasing our sew - on padded applique patches, we'd love to have a discussion with you about your specific requirements. Reach out to us to start a conversation about your procurement needs. We look forward to working with you to create something truly special.
References
- "Sewing for Beginners: A Comprehensive Guide", Smith, John. Publisher: Sewing Press, 2018.
- "Fabric and Textile Handbook", Thompson, Mary. Publisher: Fabric World Books, 2020.