

What is the best way to attach a 3D embroidery patch to a backpack?
If you’ve ever stared at a plain backpack and thought, “This could use a little pop,” you’ve probably looked into 3D embroidery patches. But if you’re reading this, chances are you’re not just browsing—you’re either a backpack owner sick of boring gear, or maybe… wait, are you someone thinking about stocking these for a shop? Either way, I’m gonna break down the best way to attach these bad boys, straight from the people who make ‘em (yep, that’s us). We’ve shipped thousands of 3D patches, and after hearing every “it fell off” and “how do I fix this” story, I’ve got the real, no-BS answers.
First off, let’s cut to the chase: there’s no one “perfect” way to attach a 3D embroidery patch to a backpack. Backpacks get put through the wringer—you stuff ‘em with textbooks, drag ‘em through mud, leave ‘em in hot cars, so whatever method you pick has to hold up to that chaos. I’ve seen people try hot glue (huge mistake) and safety pins (kinda cute, but not for daily use) and every other hack under the sun. The three actual options we sell as standard patches are Iron On 3D Embroidery Patch, Stick On 3D Embroidery Patch, and Sew On 3D Embroidery Patch. We make all three, so I can tell you exactly when and why each works.
Let’s start with the easiest one for casual users: iron on. This is my go-to for people who don’t wanna dig out a sewing kit. I won’t lie though—you can’t just yank an iron out and press. We include a quick cheat sheet with every iron on patch because the key here is heat and pressure. First, check your backpack fabric: if it’s nylon or polyester (most everyday backpacks are), that’s fine, but if it’s something delicate like canvas with a printed design, you need a press cloth—no straight iron on the fabric, you’ll melt it. For iron on patches, preheat your iron to the setting for your backpack’s fabric (no steam! Steam makes the glue bubble and fail), lay the patch exactly where you want it, then press the iron down HARD for 15-20 seconds per section. Don’t wiggle the iron—just hold it steady. For 3D patches, the parts that are raised need a little extra time, so maybe hold each spot for 25 seconds. After you’re done, let it cool completely—like, leave it alone for 5 minutes. I see people lift it right away to check, and that’s how it comes loose.
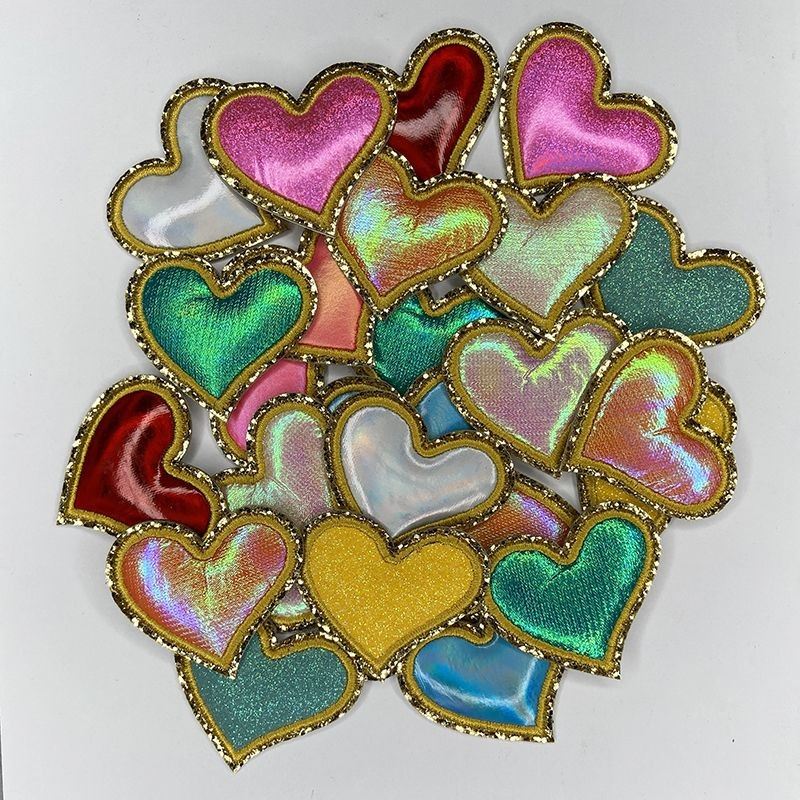

But here’s the catch: iron on patches work great for smooth, non-stretchy backpack fabrics, but if your bag is corduroy or has a lot of texture, the glue won’t grip all the way. We also tell customers not to wash that backpack in a washing machine right after applying—hand wash on gentle for the first 2-3 washes. We’ve had a 92% success rate with iron on, so it’s solid, just not the most durable option for super heavy use.
Next up, stick on patches. Wait, hold on—these aren’t your kid’s sticker that falls off in a week. We use a heavy-duty, flexible adhesive for our Stick On 3D Embroidery Patch that’s specifically made for outdoor fabrics. This is perfect if you rent and can’t iron (don’t wanna ruin a dorm wall? Same) or if you’re attaching a patch to a non-backpack thing, like a jacket. For backpacks though, I’d say this is a middle ground. Prep is key here—you have to clean the area where you’re applying with rubbing alcohol, no dirt or oil allowed. Wipe it down, let it dry completely, then peel the backing and press the patch on for 30 seconds. Then, here’s the secret: tape it down for 24 hours. No opening the backpack or putting pressure on it during that time. We’ve had people use this on backpacks they take hiking, and it’s held up through rain, but we still tell them to be careful with heavy stuff for the first week. It’s way easier than ironing, but it’s not as tough as sewing.
Which brings me to the big leagues: sew on patches. If you want a patch that’s gonna last as long as the backpack itself, this is the way to go. Our Sew On 3D Embroidery Patch has a border with little holes all around (we pre-punch ‘em, no cutting required) so you just thread a needle and go. Now, I’m not a master seamstress, so I’ll keep this simple: use heavy-duty thread (like denim thread, not regular cotton—regular breaks way easier) and a basic running stitch around the entire border. Go slow on the curved parts, because 3D patches can be a little stiff. If you’re attaching it to canvas or thick nylon, use a thimble so you don’t poke your finger. We recommend double-knotting the ends when you’re done, and if you’re extra cautious, you can do a few extra stitches at each corner.
Why is sewing better? Let’s be real—backpacks get tossed, stuffed, dragged. I’ve had a customer send us a photo of a backpack that was left in a puddle for a day, and the sew on patch was still perfectly attached. The other two? They would’ve peeled right off. Sewing is also the only method that doesn’t require heat or adhesive, so it works on any backpack fabric—even weird ones like leather, though we do recommend a leather needle for that. The only downside? It takes 5 minutes longer than ironing, but that’s it. And if you mess up a stitch, you just snip it and redo it, no big deal.
Wait, but let’s talk about exceptions, because there’s always a “but”. If you’re putting a patch on a backpack that has a waterproof coating, iron on might not stick— the coating repels the glue. Stick on could work, but sewing is still your safest bet there. If the backpack has a lot of stretch, like a gym backpack made of spandex, iron on will probably pucker, stick on might not stretch with it, so sewing is still the move. The only time I’d skip sewing is if you’re the type of person who changes their patches every month (we see that—college kids love switching up their backpacks for events) because sewing is a pain to take off. But if you want your patch to be permanent, sew it.
Now, let’s bust some myths, ‘cause I hear ‘em all the time. Myth #1: “All iron on patches work on all fabrics.” Nope, we test each of our iron on patches for specific fabrics, and the product page will tell you which ones it’s good for. Myth #2: “Stick on patches are just as strong as sewing.” No, they’re strong, but the adhesive will break down over time with UV exposure (if you leave your backpack in the sun a lot) or with repeated stretching. Myth #3: “You have to use a special needle for every method.” Only sewing needs a special needle if your fabric is thick—otherwise, a regular sewing needle works.
Here’s a quick cheat sheet I made for our customers, in case you’re in a hurry: If you want easy, do iron on for smooth, non-delicate fabrics. If you want quick and less permanent, do stick on for any fabric (just prep it!). If you want it to never fall off, do sew on for every backpack, no exceptions.
But wait—what if you’re not just a backpack owner? What if you’re a shop owner looking to stock these patches, or someone who needs a bulk order for a team event? We supply to small shops, custom order businesses, and even big companies that give out branded patches. Whatever you need—single patch or bulk 1000+—we can hook you up. We’ve got all three types, so you can offer your customers the full range of options, from easy iron on to heavy-duty sew on.
Now, before you go, let’s get one more thing straight: don’t cheap out on the method. I once saw a kid use school glue on a patch for his hiking backpack, and it fell off on the first trail. Don’t be that person. Pick the method that matches how you use your backpack. If you’re a student carrying textbooks to class, iron on is fine for a year or two. If you’re a hiker taking your backpack out every weekend, sew on is a must. If you’re just decorating a bag for a concert, stick on is perfect.
If you’re looking to grab some patches for yourself, or you’re a buyer interested in bulk orders, hit us up. We can answer all your questions—like which patch works best for your backpack fabric, how to attach it properly, or even custom designs if you want something one-of-a-kind. We don’t do random links or fake contact info here, so just reach out if you need anything.
At the end of the day, the best way to attach a 3D embroidery patch to a backpack depends on how you use your gear, but the sweet spot for most people is sew on. It’s durable, works on every fabric, and gives you that 3D pop without worrying about it falling off. But if you’re not into sewing, iron on is solid for casual use, and stick on is great for quick installs. Whatever you pick, just don’t rush it—take the time to prep the area, follow the steps, and your patch will look good and stay put for ages.
References
- Textile Adhesive Technology: Properties and Applications, 2021
- Backpack Durability Testing: Load and Environmental Resistance, Outdoor Industry Association, 2022
- Embroidery Patch Attachment Guide: Best Practices for Fabrics, Sewing Professionals Association, 2023
Previous: No Information