

Can I sew on a 3D PVC patch on a denim vest?
Hey there fellow creators, DIYers, and anyone who’s ever stared at a denim vest (or jacket, or bag, or honestly anything) and thought “this needs more personality.” Let’s cut to the chase—if you’re here asking “Can I sew on a 3D PVC patch on a denim vest?” the short answer is: HELL YES, but there’s a few things I wish I’d known my first time messing with this stuff. I run a small shop that specializes in [Sew On 3D PVC Patch] for all kinds of projects, so I’ve sewn my fair share of these durable, eye-catching bad boys onto denim (and trust me, I’ve also had some oops moments that taught me way more than any tutorial out there). Let me walk you through it like I would a friend grabbing coffee, no stuffy jargon or confusing steps.
First, let’s talk about why denim and 3D PVC patches are such a match made in, well, patch heaven. Denim is thick, sturdy, and has that classic rugged vibe that pairs perfectly with the bold, molded look of 3D PVC. Unlike iron-on patches that might peel after a few washes, sew-on PVC patches stay put—this is key for anyone who wants their vest to last through festival mosh pits, barista shifts, or just regular weekend wear. PVC is also waterproof, which means if you spill a beer or get caught in a drizzle, your patch won’t get mushy or fade (unlike fabric patches, which I’ve had turn gray after one rainy bike ride).
Wait, but hold up—let’s make sure we’re on the same page about what a sew-on 3D PVC patch actually is. These aren’t your flat iron-on patches you grab at the craft store. They have that raised, three-dimensional shape—think skulls with recessed eye sockets, brand logos with chunky lettering, or even custom designs like your pet’s face molded in plastic. The sew-on version has small fabric loops (called “thread lugs”) around the edges that make it super easy to stitch through onto fabric, no glue or fancy tools needed. That’s not to say other PVC patch types aren’t cool—if sewing sounds like too much work, you could go with [Stick On 3D PVC Patch], which uses a strong adhesive, or [Velcro 3D PVC Patch] if you want to swap patches out all the time—but today we’re focusing on sewing, since that’s what people actually ask about most with denim.
Now, let’s get into the nitty-gritty: the supplies you’ll need. You don’t need a professional sewing machine (trust me, I’ve sewn these on a basic Brother I got for $50 from Walmart), but here’s what to grab:
- Your denim vest (obviously—pro tip: use a plain, unadorned vest if you’re starting fresh; pre-distressed is fine too, just make sure the fabric isn’t too stretched out)
- A sew-on 3D PVC patch (duh, again—skip the iron-on here, denim is thick and iron-on might not adhere right)
- Denim needles—these are key! Regular sewing machine needles will bend or break on denim, which is way harder than cotton. I use size 90/14 denim needles, and they work like a charm.
- Heavy-duty thread (not that thin all-purpose stuff—denim thread is thicker, stronger, and won’t snap mid-sew)
- Basic sewing supplies: scissors, a seam ripper (for when you mess up, which I do more than I’d like to admit), a thimble (seriously, your fingers will thank you if you’re stitching by hand), and maybe a fabric marker to mark where you want the patch to go
- Optional: a sewing machine (hand-sewing works too, it just takes a little longer)
Let’s talk prep first—this is the part most people skip, and it’s why their patches come loose after a few washes. First, decide where you want the patch. I usually place it on the chest pocket, the back (center is easiest for symmetry), or even the shoulder—just make sure the spot is flat, no bumps or extra fabric that will make the patch sit uneven. Next, prep the denim: if your vest has any extra fabric hanging loose around the spot, trim it, and maybe even iron the area flat (denim can be wrinkled, and a smooth surface makes sewing easier). For the patch, double-check that the thread lugs are all intact—sometimes cheap patches have lugs that are flimsy, but the sew-on ones from my shop? We make sure those lugs are thick and sturdy, so you don’t have to worry about them tearing off.
Now, the actual sewing part. Let’s start with hand-sewing, since that’s what a lot of new DIYers use. Thread your needle with denim thread (I do a double thread, it’s stronger), tie a knot at the end. Poke the needle through the denim from the back side, so the knot is hidden inside. Then, for each thread lug on the patch, bring the needle through the top of the lug, back down through the denim, and pull tight—don’t pull too hard, or you’ll pucker the denim, but don’t leave it loose either. Go around each lug twice, just to be safe—this makes sure the patch is extra secure. Once you’ve gone all the way around, tie a knot on the back side, and cut the thread. Done! Hand-sewing takes about 10 minutes for a small patch, 15 for a big one, and it’s super satisfying because you can control every stitch.
If you’re using a sewing machine, it’s almost as easy. Set your machine to a straight stitch (a tight, narrow stitch works best). Pin the patch to the denim (use safety pins, not regular pins—they’re sturdier and easier to take out mid-sew). Start at one lug, lower the presser foot, and slowly stitch around each lug, staying close to the edge of the lug. Go slowly, especially when you’re going over thick denim—don’t rush, or the needle will break. Once you’re all the way around, backstitch a few times to secure the thread, and you’re done. Machine sewing is faster for bigger patches, but I still do hand-sewing for custom projects because it feels more personal.
Wait, but what about common mistakes people make? Let’s chat about those, because I’ve made all of them. First, using the wrong needle. I once used a regular needle on thick denim and snapped it in half right in the middle of sewing—scared me so bad, I now keep a stack of denim needles in my sewing box. Second, not double-stitching the lugs. I had a customer come back once with a patch that fell off after one wash, and it turned out they only stitched each lug once— lesson learned, double those lugs! Third, pulling the thread too tight. That pucker I mentioned earlier? It makes the patch sit weirdly, and over time, the denim will stretch around the stitches, making the patch loose. Take it slow, keep the tension even. Fourth, washing the vest too soon. Wait, can you wash a denim vest with a sew-on PVC patch? Yes, but wait 24 hours after sewing before washing, so the stitches set. Also, turn it inside out, use cold water, and skip the fabric softener—fabric softener can break down the thread. Line dry instead of putting it in the dryer, because heat might warp the PVC.
Oh, and a quick pro tip: if you want to add extra security, you can add a small stitch in the center of the patch (if it’s big enough) to make sure the middle doesn’t lift. But usually, stitching around all the lugs is enough, especially if you use the right thread and needle. Let’s also compare this to other PVC patch options, since that’s a common question. [Stick On 3D PVC Patch] is great if you’re in a hurry, but it’s not as durable as sewn-on—after a few washes, the adhesive might peel, especially on thick denim. [Velcro 3D PVC Patch] is perfect if you want to change patches whenever you want (like for different festivals or outfits), but you’ll have to sew the Velcro backing onto the denim, which is an extra step. Sew-on is the middle ground that’s durable, customizable, and doesn’t require switching tools.
Wait, let’s address a big misconception: some people think 3D PVC is too stiff to sew, but that’s not true. The patch itself is stiff, but the thread lugs are made of a flexible fabric (usually nylon or polyester) that works just like fabric patch lugs—they’re designed to be sewn through. We make our [Sew On 3D PVC Patch] with extra-strong lugs specifically for denim, so you don’t have to worry about the PVC itself being too hard to stitch. I once sewed a huge 6-inch skull patch onto a customer’s biker vest, and it’s been through 50+ washes and it’s still on there tight.

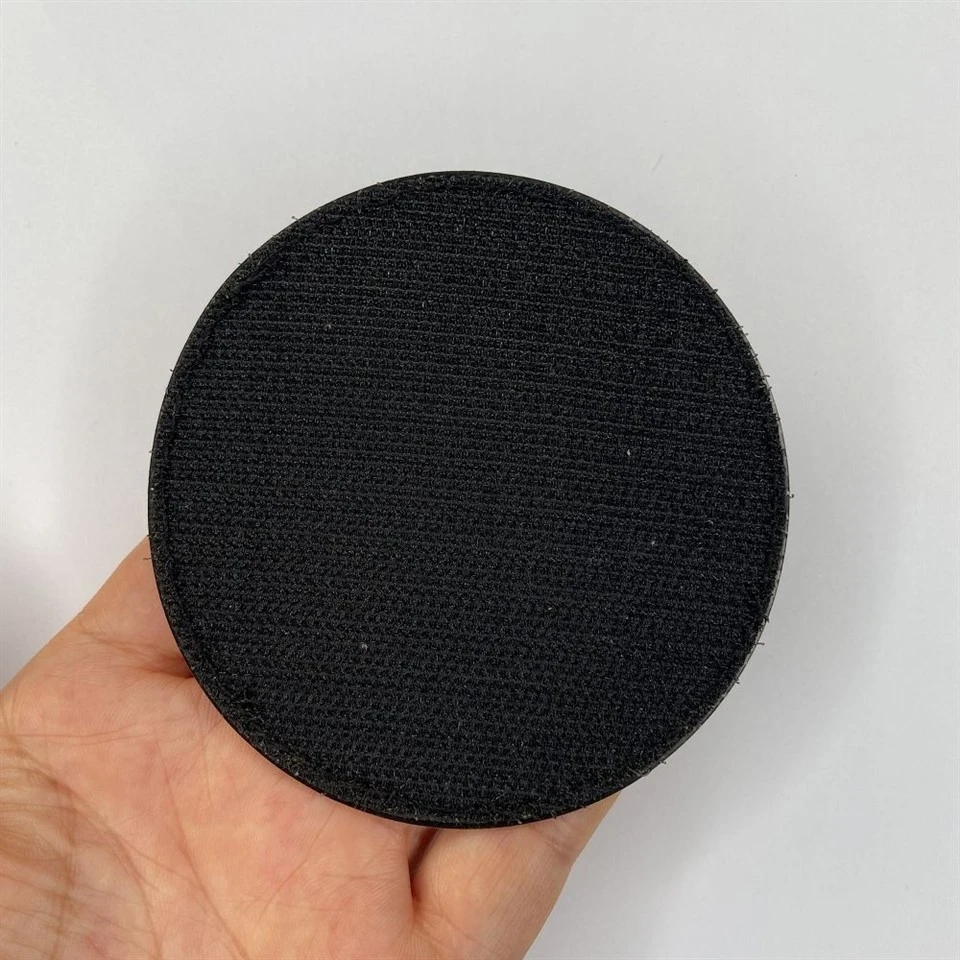
Another thing: custom patches. If you have a design in mind—like your band logo, your dog’s face, a inside joke—you can get a custom sew-on 3D PVC patch, which is perfect for denim vests. I’ve seen people make vests for graduation, for bachelorette parties, for their favorite sports teams, even for their local book club. Denim is such a versatile fabric that it works with every style, and a 3D PVC patch adds that extra pop that fabric or iron-on patches just can’t match.
Now, if you’re still on the fence: I get it. Sewing might seem intimidating if you’ve never done it before, but trust me, this is one of the easiest sewing projects you’ll ever do. I’ve taught my 16-year-old cousin to sew on these patches, and she nailed it on her first try. You don’t need fancy skills, just a little patience and the right supplies. And if you mess up? Seam rippers exist for a reason—pull out the stitches, try again, it’s no big deal.
Ready to take the plunge? Whether you’re making a vest for yourself, a gift for a friend, or even reselling pieces, sew-on 3D PVC patches are the way to go. If you have questions about sizing, designs, or care tips, don’t hesitate to reach out. We offer a range of sew-on PVC patches, from small logos to big statement pieces, all made with quality materials that will hold up to your denim vest’s adventures. Don’t settle for a boring plain vest—add some personality that lasts, not just a patch that falls off after one wash.
And remember, if sewing really isn’t your thing, we’ve got options too—check out our [Stick On 3D PVC Patch] for a quick fix or [Velcro 3D PVC Patch] for swapable fun. But for that permanent, rugged look that pairs perfectly with denim? Sew-on is the move.
When you’re picking out your patch, make sure to measure the spot on your vest first—small patches (1-2 inches) work great on pockets or shoulders, big patches (4-6 inches) are perfect for the center back. Don’t be afraid to mix and match too—add a few small patches around a big one for a layered look. I once saw a guy with a denim vest that had his favorite band’s logo as a big back patch, plus a small guitar pick patch on the chest and a skull patch on the shoulder—looked so cool, and all the patches were sewn on tight.
Care reminder: as I mentioned earlier, turn your vest inside out when washing, cold water, gentle cycle, line dry. Avoid bleach or harsh detergents, because that can fade both the denim and the PVC patch. If a thread ever starts to come loose, just sew it back up—no need to panic, these patches are super easy to maintain.
At the end of the day, sewing a 3D PVC patch onto a denim vest is about making something that’s yours. Denim is durable, and a well-sewn patch will be there for all your memories—festivals, late-night runs, coffee dates, whatever you get up to. It’s not rocket science, and you don’t need to be a master sewer to do it. Grab your supplies, pick a patch, and give it a shot. You’ll be so glad you did.
If you’d like to browse our full collection of sew-on, stick-on, and Velcro 3D PVC patches to find the perfect one for your denim project, feel free to connect with our team to discuss custom options, sizing, or any other questions you have. We’re here to help make your DIY vision a reality.
References:
- Denim Care and Sewing Guidelines, Textile Institute of America, 2022
- 3D PVC Patch Durability Testing, Specialty Adhesives & Materials Journal, 2021
- Hand vs. Machine Sewing for Sturdy Fabric Projects, DIY Craft Collective, 2023